
Welcome aboard — we’re glad to have your business on Linkyoo. Each step below is quick, and you can always come back to this page if you need a reminder. Ready when you are.
Step 1 — Download the Linkyoo app
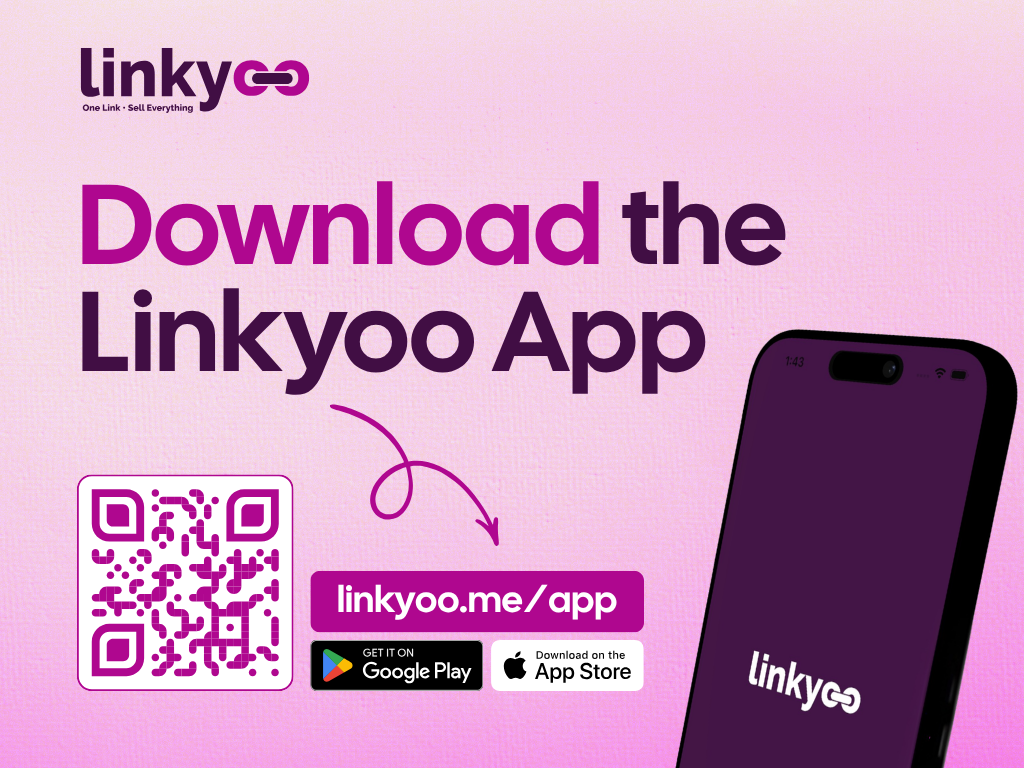
Linkyoo is where you manage your business — your page, your products, your orders, and your earnings. Grab the app from your app store:
- iPhone / iPad — download from the App Store.
- Android — download from Google Play.
The quickest way is to visit linkyoo.me/app, which sends you straight to the right store for your device. You can also scan the QR code below with your phone camera to jump to the download page.
Prefer to use the web app instead?
You do not need to install anything to get started. Head to my.linkyoo.me in your browser to manage your business, page, products, orders, and earnings — the same tools as the app, right from the web.
Step 2 — Sign up or log in
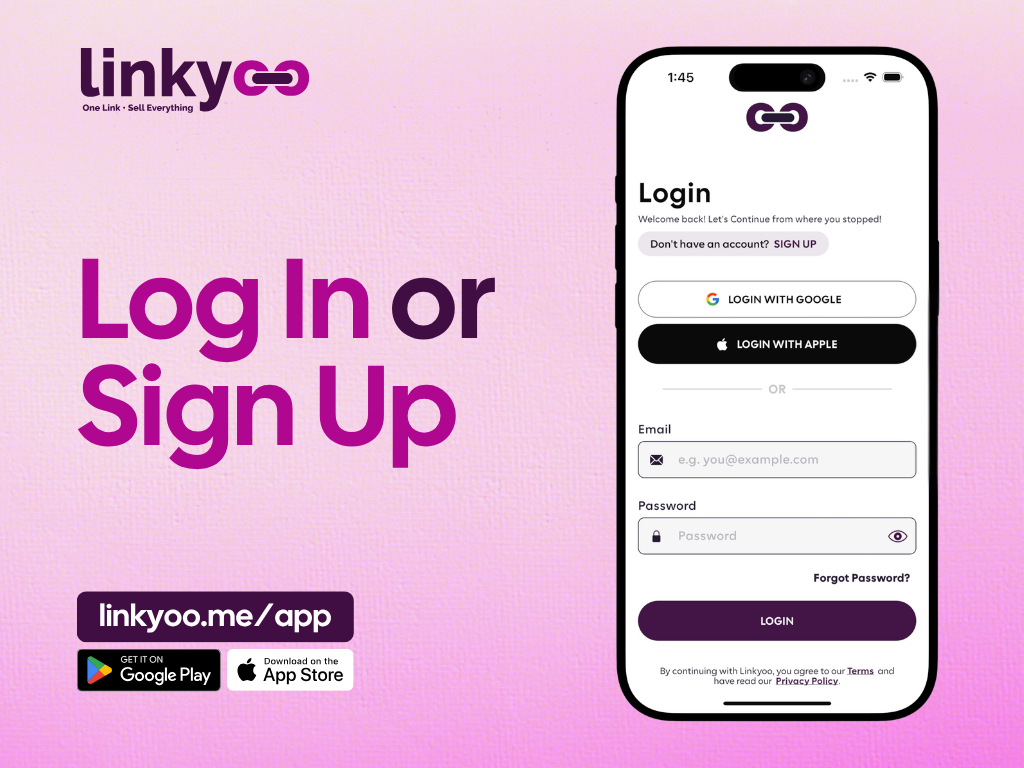
Open the app and create your Linkyoo account. This account is what you will use to manage your business page from now on.
You can sign up in whichever way is easiest for you:
- Email — sign up with your email address and a password.
- Continue with Google — one tap, no password to remember.
- Continue with Apple — one tap on iPhone and iPad.
If you already have an account, just log in with the same method you used before.
Step 3 — Create your business
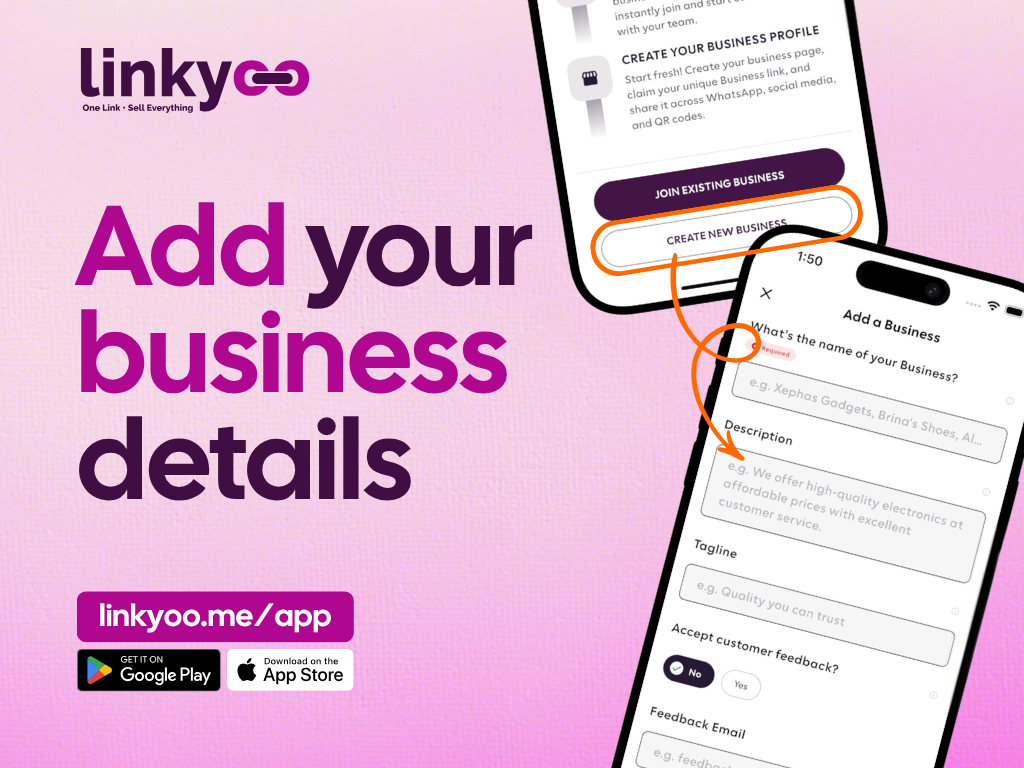
Once you are signed in, tap Create your business and fill in your details. You will add:
- Business name — what customers will see at the top of your page.
- Your Linkyoo handle (link) — this is your unique web address, e.g. linkyoo.me/yourbusiness. Customers use it to find you, and it powers your QR code. You can change it later. (Curious what the handle is? See What is “your-biz”?.)
- Category — the type of business you run (restaurant, shop, salon, and so on). This also tailors the app — restaurants and cafés get a Menu tab, while other businesses get a Products tab.
- Country & currency — so prices show correctly for your customers.
- Logo — upload your business logo to make your page instantly recognisable.
- Short description & location — a line about what you offer and where you are based.
When you finish, your business page is live and ready to fill.
Step 4 — Upload your products
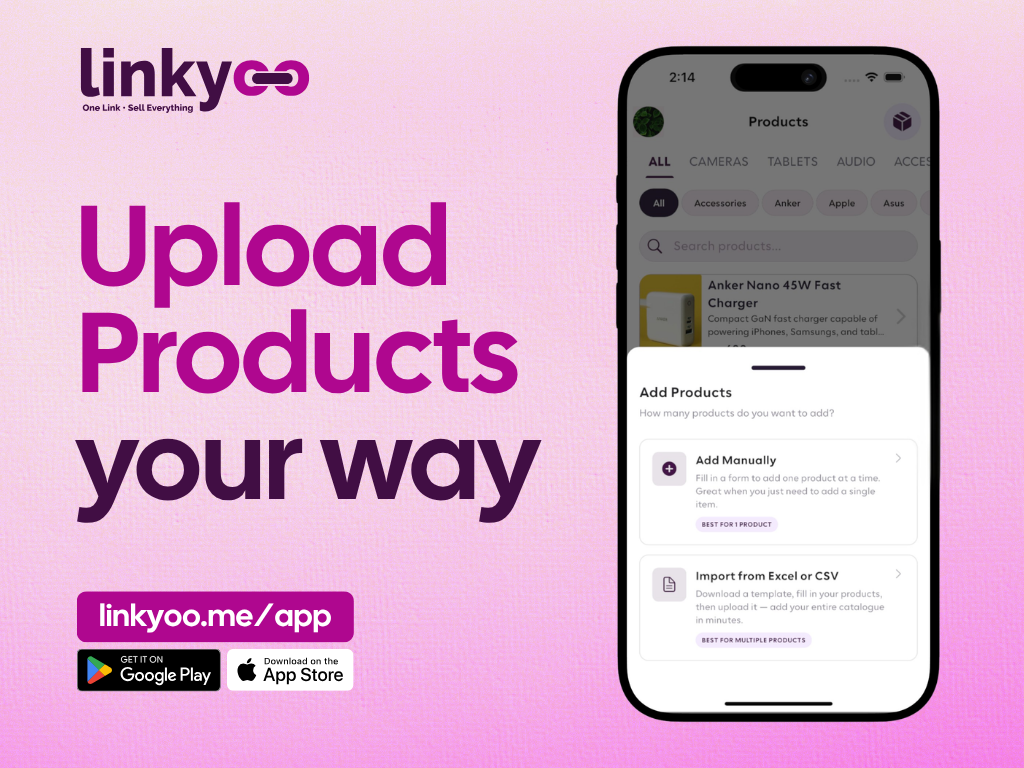
Now the fun part — adding what you sell. Tap the Products tab (or Menu, if you run a restaurant or café) in the bottom navigation bar, then tap Add New Item. You have three ways to build your catalogue:
- Add manually — fill in a quick form for one product at a time. Perfect when you just need to add a single item.
- Import from Excel or CSV — download our template, fill in all your products, and upload the file to add your entire catalogue in minutes. Best when you have many products.
- Let us do it for you — send us your product list and we will upload it on your behalf. Reach out on WhatsApp or email us at hello@aptahq.com, and our team will take care of it.
Add clear photos and prices where you can — pages with good product images get more orders.
Step 5 — Review and polish your business page
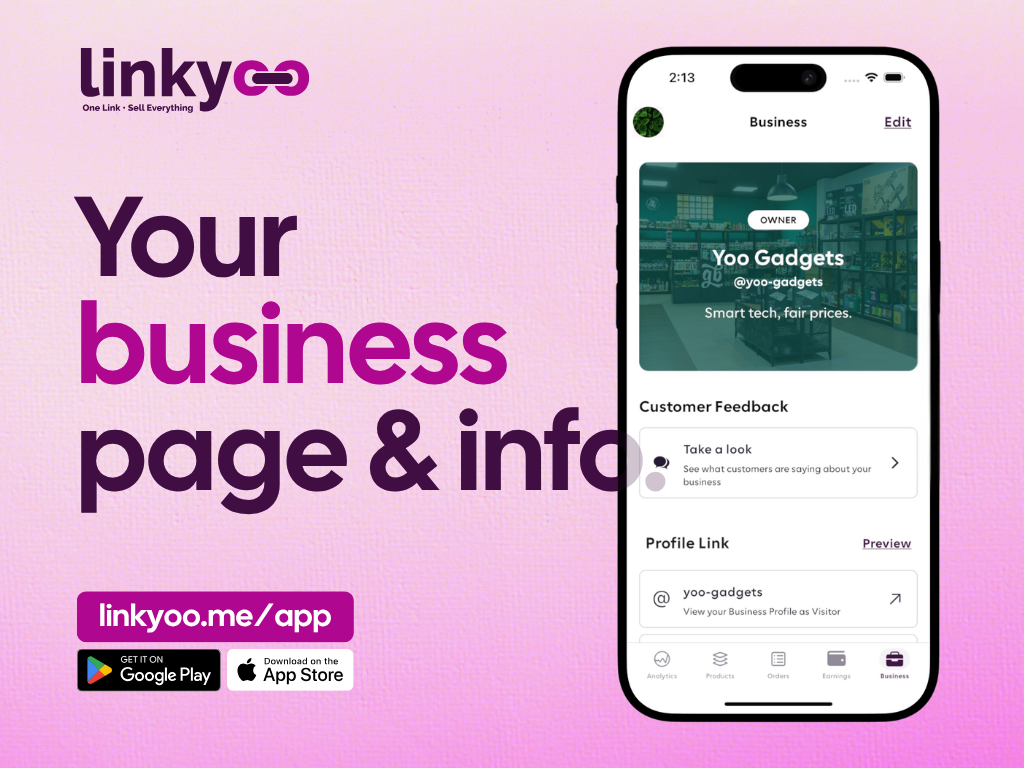
Tap the Business icon in the bottom navigation bar to see your page the way customers do — and to fine-tune it. From here you can update things like:
- Your logo, name, description, and location.
- Your social links and contact details.
- Featured sections and how your products are organised.
- The contacts customers use to reach you about their orders.
Take a minute to make sure everything looks the way you want before you start sharing your link.
Step 6 — Share your page and start taking orders
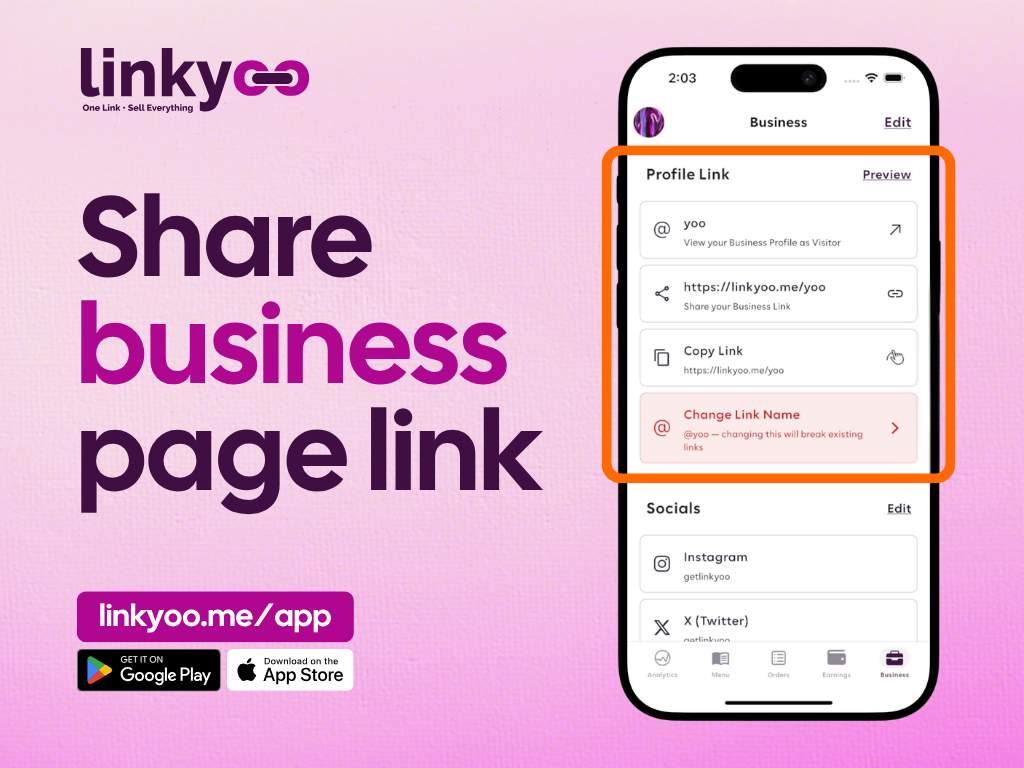
Your page is ready — now get it in front of customers. Share your Linkyoo link (linkyoo.me/yourbusiness) and QR code anywhere your customers are: WhatsApp status, Instagram bio, printed flyers, your shopfront, or your receipts.
When a customer opens your page, they can browse your products and place an order straight away. Their orders show up in the Orders tab in the app, so you never miss one.
Tip: Encourage customers to install your page as an app on their phone for one-tap access next time — here’s how it works.
Step 7 — Unlock more with Premium (optional)
Linkyoo works great on the free plan, but upgrading unlocks more — like unlimited products, advanced features, and the ability to accept payments directly on your page.
Tap the Premium icon at the bottom of the screen to see what’s included and pick the plan that fits your business. You can compare everything on our pricing page.
Once you are on a paid plan, you can request access to payments and start collecting Mobile Money from customers at checkout — see Accept Payments on Linkyoo for the full walkthrough.
Your in-app guide — a companion at every step
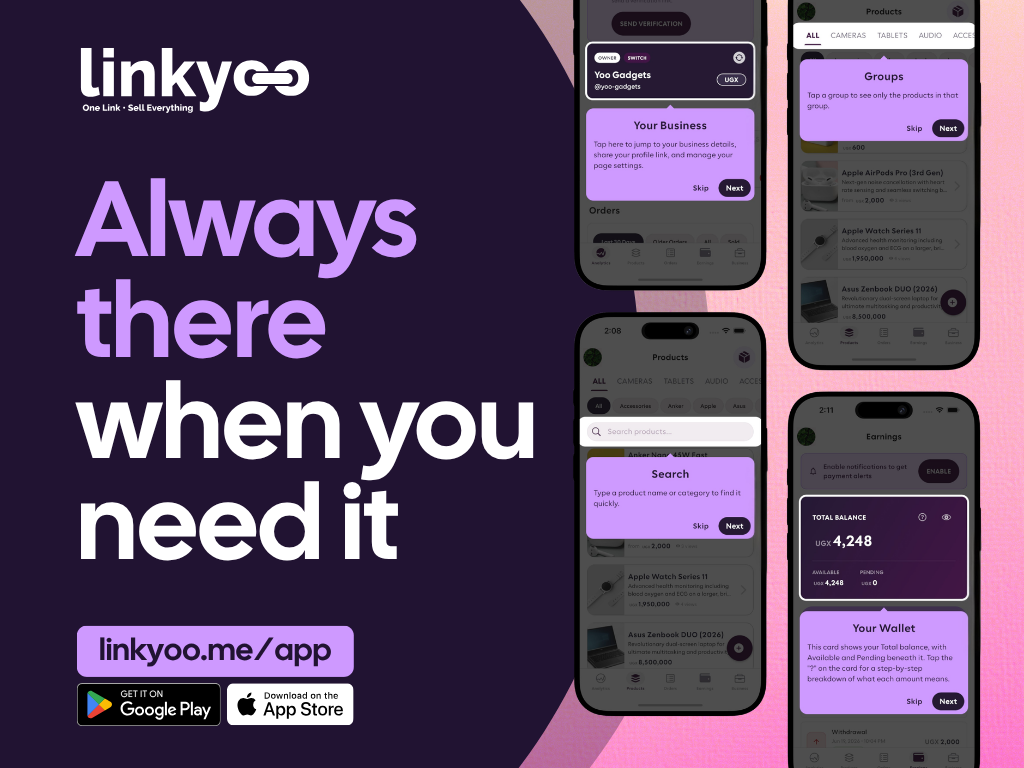
You won’t be doing this alone. The Linkyoo app has a built-in guide that travels with you. The first time you open each screen, short guided hints pop up — they highlight a button and explain what it does, with Skip and Next to move through at your own pace. Think of it as a companion pointing things out as you go, so you always know what to tap next.
You don’t have to memorise any of this. The Linkyoo app comes with guided hints built right in, so help is always a tap away as you find your way around.
Here’s how it works:
- Hints appear automatically. The first time you open a screen — Analytics, Products, Orders, Business, Earnings, your Profile, and more — small tooltip cards highlight the key buttons and explain what each one does.
- Move at your own pace. Every hint has a Next button to continue the tour and a Skip button to dismiss it whenever you like.
- They keep you company early on. For your first few weeks with Linkyoo, the hints re-appear every so often so the app becomes second nature — then they quietly step back once you know your way around.
- Replay them anytime. Want a refresher? Open your Profile, tap “How to use the app”, and the guided tour switches back on for every screen. Just open any screen to see the hints again.
So as you work through the steps above, keep an eye out for these hints in the app — they’re your companion at every step of the way.
You’re all set
That’s it — you now have a live business page, a catalogue of products, and a link to share with the world. Here’s a quick recap:
- Download the app.
- Sign up or log in.
- Create your business.
- Upload your products.
- Polish your business page.
- Share your link and take orders.
- Upgrade to Premium when you’re ready for more.
Want to keep this handy? Download the Getting Started guide as a PDF to save it or share it with your team.
Need a hand?
We’re here to help you get set up smoothly. Reach us any time:
- WhatsApp: chat with us
- Email: support@linkyoo.me
- Contact page: linkyoo.me/contact
Welcome to Linkyoo — we can’t wait to see your business grow.